Thomas J. Norton | Jul 21, 2021

Today’s projection screen scene is far more complex and competitive than it was even a short 10 years ago, with numerous companies now offering a wide range of screen types at various shapes, sizes, and prices. Narrowing the options requires research, together with careful consideration of your specific needs and viewing environments. How tightly can room lighting be controlled? How big does the image need to be? What is the preferred aspect ratio? Should the screen’s frame be fixed or retractable? finally, how do today’s high dynamic range (HDR) requirements- unknown a decade ago-figure into the choice?
Four key screen characteristics should be at the top of your shopping list: size, shape (aspect ratio), material, and gain. A qualified custom installation professional can easily select the right screen for our solution and get it up and running in your space. But even if you do seek out the assistance of a pro, gaining some knowledge on your own will help accelerate the process.
Finding the Right Size
Deciding on size might be the most difficult aspect of selecting a screen, and that choice will ultimately come down to viewing distance and projector resolution (4K/Ultra HD vs. regular 1080p HD), along with personal viewing preferences. The light output, or brightness, capability of the projector also figures in here since the bigger the screen, the dimmer the image. Instead of squeezing in the largest screen the space can accommodate, going with a smaller size will yield a brighter and punchier-looking image, one that should provide greater satisfaction over time. In fact, settling on a screen size before selecting your projector may be the best way to go.

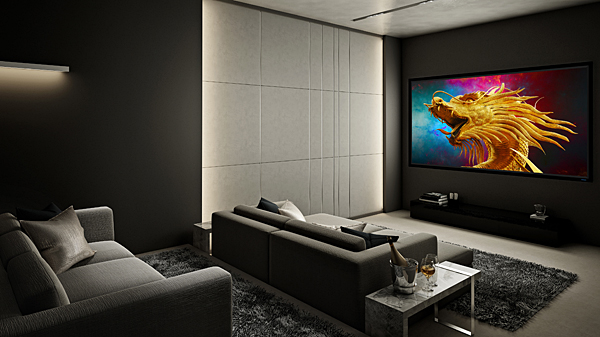
Stewart 2.35:1 aspect ratio fixed frame screen
To that end, ask yourself this question: When I go to a movie theater (if you still do!), how close to the screen do I usually sit? If you prefer to sit up close, you’ll want a wide viewing angle: the number of degrees the screen will occupy in your frontal range of vision. If you prefer a seat ranging from the middle of the theater to further back, you’ll want a narrower viewing angle.
Numerous web sites can help you calculate viewing angle based on screen size and throw distance (the physical distance from the projector lens to the screen) like this one that I’ve used for many years. This online tool, which assumes a maximum source resolution of 1080p, lets you plug in screen size and viewing distance to calculate the viewing angle.
It also offers viewing angle recommendations from both THX and SMPTE (the Society of Motion Picture and Television Engineers). If you’re looking for a screen calculator for 4K sources, Screen Innovations offers a basic version on its website that calculates a recommended screen size based on aspect ratio (16:9, 2.35:1, etc.) and seating distance.
Relatively small changes in seating distance can produce big viewing angle changes. For instance, with a 9-foot-wide 16:9 screen, a 12-foot distance results in a viewing angle of 36.9 degree (close to THX’s recommended 36 degrees). At a 10-foot distance, the viewing angle is 43.6 degrees, which is roughly equivalent to sitting in the front third of a movie theater.
Since no site can make a final decision for you, I’ll also suggest a less technical approach. If you already own a projector, set it up where it will be installed in the room and aim it at the wall where the screen will be located. Sit at the distance you normally would and experiment with image size within the projector’s zoom limits. Take your time- a size that initially seems impressive might be overwhelming after a half-hour or so. You’ll want to be comfortable with it for a full movie, not a 10-minute demo. If the colour of the wall where the screen will be mounted is took dark for a reasonable evaluation, paint it white temporarily- a lot cheaper than buying the wrong screen- or use the proverbial bedsheet! You’ll learn soon enough what screen size works best for you. But apart from relative brightness, don’t use this technique to critically judge brightness vs. screen size. The brightness will likely be significantly different with a good screen.
Screen size is also an important consideration for viewing HDR sources, since HDR will always be noticeably less impressive with a projector than an even an average OLED or LCD TV. That’s because HDR standards were developed with flat-panel TVs in mind, not projectors, so the latter need all the brightness help they can get to deliver even a taste of the full HDR experience. So, if you plan on viewing a heavy helping of HDR, a screen size perhaps 10-20 percent smaller than the one you decided on with the help of a screen calculator, or the exercise suggested above, might be worth considering.
Fixed Frame or Retractable?
Many installations use a fixed-frame screen attached to a wall. With this option, the screen will always be visible whether in use or not, so it’s best for a dedicated theater room. But if the space will also be used for other activities, a retractable screen that either pulls down manually from a ceiling or floor-mounted case or rolls out automatically via a built-in monitor will be a better (though usually pricer) option. Why? Aside from the visual impact of having a large, blank (when not in use) rectangular surface in the room, projection screens are relatively delicate and easily damaged. Even minor markups (from kids with crayons?) can’t be cleaned off without doing damage to the surface.

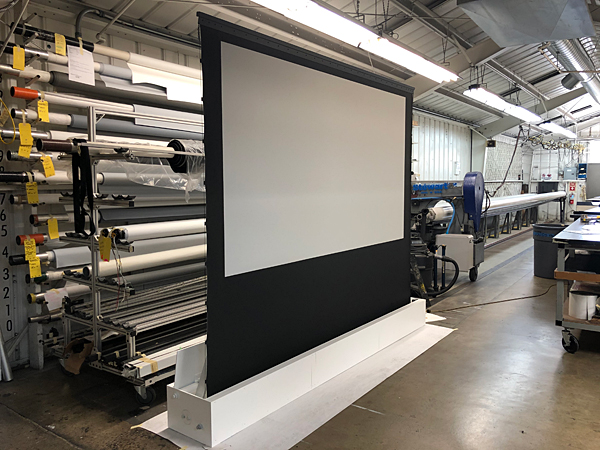
An example of a motorized retractile floor-mounted screen
Any good retractable screen is designed to remain flat when extended. This is usually done with tension cords positioned along the sides of the screen and attached to it by tabs. Less expensive retract- able screens don’t always offer this feature, and without it the sides of the screen may curl over time. And if you opt for a motorized retractable screen, it will usually require access to power, though a few models also feature rechargeable lithium battery option.
If you plan to mount a retractable screen on or near to the ceiling, be sure to check the full vertical dimension of the extended screen area. That will include any gap between the case and the ceiling, the case itself, the “drop” (the black area between the case and the active screen area), and the active screen image height. This will tell you if the extended screen area will be at comfortable eye-level depending on the height of your ceiling. You can order a different-sized black area “drop” from some manufacturers (though not all) to compensate for this, but that option typically requires an even pricier, custom-ordered screen. If you mount the screen case to the wall instead of the ceiling, that will usually present less of an issue- as long as you’ve chosen the right height for the case.
You might have gleaned by this point that mounting a screen, particularly a retractable one, isn’t a project for the average weekend warrior. Custom installation here can be a lifesaver, especially when ceiling-mounting a large, heavy, retractable screen that needs to be secured to the studs behind the ceiling’ drywall. (Someday soon, perhaps, I’ll blog about my own screen-installation adventures!).
Aspect Ratio Issues
The history of motion pictures is inter-leaved with various aspect ratios, or the width of an image relative to its height. The most popular home theater screen aspect ratio is 1.78:1. And since that shape is an exact match for the 16×9 HDTV standard, shows produced in that format will fill the screen completely. Non-Scope American films (“Scope” is film industry technobabble for ultra-wide aspect ratio films such as 2.35:1) are generally 1.85:1, while some other countries use 1.66:1, making 1.78:1 a reasonable compromise.
